How to Clean and Maintain Your Hearing Aid: A Complete Guide
How to Clean and Maintain Your Hearing Aid: A Complete Guide
Your hearing aid works hard every day. It sits in or behind your ear for ten to sixteen hours at a time, exposed to earwax, sweat, humidity, dust, and skin oils. Without regular care, even the best device can lose sound quality, develop faults, or stop working altogether. The good news is that proper hearing aid maintenance is simple, quick, and inexpensive once you build it into your routine.
At VR Speech and Hearing Clinic, we see many patients who come in with “broken” devices that only needed a thorough cleaning. This guide explains exactly how to clean and maintain your hearing aid at home, what to avoid, and when to seek professional help.
Why Hearing Aid Cleaning Matters
Hearing aids are precision electronic devices with tiny microphones, receivers, and sound outlets. Earwax and moisture are the two biggest enemies. Here is what happens when you skip cleaning:
Blocked sound ports cause weak or muffled sound
Wax buildup damages the receiver, which is the speaker of the device
Moisture corrodes battery contacts and internal circuits
Whistling or feedback becomes more frequent
The device lifespan shortens, leading to costly repairs or early replacement
A well-maintained hearing aid typically lasts five to seven years, and often longer. A neglected one may need repair within a year or two.
Tools You Need for Hearing Aid Care
Before you begin, gather a basic cleaning kit. Most clinics, including ours, can provide one when you get fitted.
A soft, dry, lint-free cloth or tissue
A small cleaning brush
A wax pick or wire loop
A wax guard replacement tool and spare wax guards or filters
A drying box, dehumidifier, or desiccant jar
A battery tester if your device uses disposable batteries
A hearing aid blower or air puffer for tubing
Avoid using alcohol, household cleaners, baby wipes, or water on your device. These can damage the electronics and the casing.
Daily Cleaning Routine
Make cleaning part of your evening routine, ideally right after you remove the device while the wax is still soft.
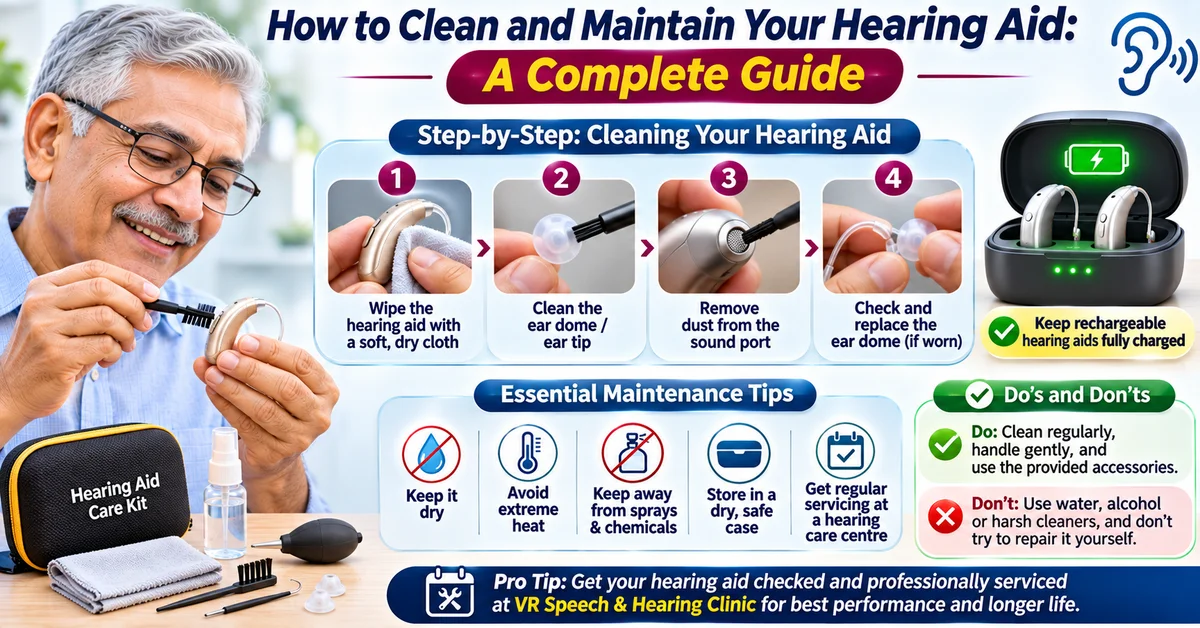
Step 1: Wipe the device. Use a soft dry cloth to wipe away oil, sweat, and debris from the entire surface.
Step 2: Brush the microphone and sound openings. Hold the hearing aid with the microphone port facing downward so debris falls out instead of dropping inside. Gently brush the ports and the speaker opening.
Step 3: Check the wax guard. If you see dirt or wax covering the small filter at the tip, clean or replace it.
Step 4: Open the battery door. If your device uses disposable batteries, open the door every night. This allows air to circulate, lets moisture escape, and saves battery life.
Step 5: Store it safely. Place your hearing aid in a dry, cool storage case or drying box. Never leave it on a bathroom counter, windowsill, or near a heater.
Weekly Cleaning Routine
Once a week, give your device a deeper clean.
For behind-the-ear (BTE) models: Detach the earmold or ear tip from the hearing aid. Wash the earmold in lukewarm water with mild soap, rinse well, and let it dry completely for at least several hours or overnight. Use an air blower to push water droplets out of the tubing. Never wet the hearing aid body itself.
For in-the-ear (ITE) and in-the-canal (ITC) models: Use the brush and wax pick to remove wax from the sound outlet. Do not push the pick deep into the opening, as this can force wax into the receiver.
For receiver-in-canal (RIC) models: Replace the dome or ear tip if it looks worn, discolored, or clogged. Check the thin wire for kinks or damage.
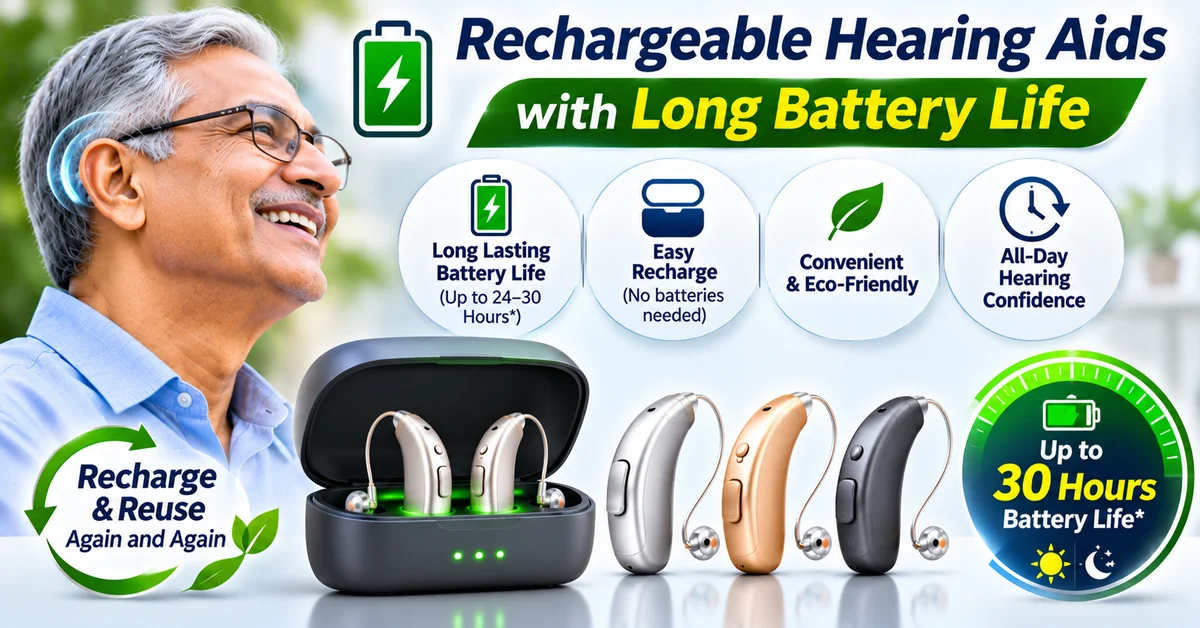
For rechargeable devices: Wipe the charging contacts with a dry cloth and clean the charging case to make sure the device charges properly.
Monthly Maintenance Checklist
Once a month, take a little extra time to inspect your device.
Look for cracks, rough edges, or loose parts
Replace wax guards, filters, and domes if not already done
Check the tubing on BTE models for stiffness, discoloration, or moisture. Tubing should be replaced every three to six months
Test the sound quality in a quiet room
Clean your storage case and drying box
Check the battery door for corrosion
How to Protect Your Hearing Aid From Moisture
Moisture is a silent killer of hearing devices, especially in humid climates, during monsoon season, or if you sweat heavily.
Use an electronic dehumidifier or drying box nightly
Remove your hearing aid before showering, swimming, or entering a sauna
Wipe the device after exercise
Keep it away from rain unless it has a certified water-resistance rating
Never dry your device with a hair dryer, microwave, or oven
If your hearing aid gets wet, switch it off, open the battery door, remove the battery, wipe it gently, and place it in a drying container for at least eight hours.
Battery Care Tips
If your hearing aid uses zinc-air batteries, a few habits can help them last longer.
Peel the sticker and wait about one minute before inserting the battery. This allows air to activate it
Store batteries at room temperature, not in the refrigerator
Keep them away from coins and metal objects
Replace the battery as soon as you hear low-battery warning tones
Dispose of used batteries safely and keep them away from children and pets
For rechargeable models, charge the device nightly and avoid leaving it on the charger for several days at a time when not in use.
Hearing Aid Care Mistakes to Avoid
Many problems come from well-meaning but harmful habits. Avoid these:
Using water, alcohol, or cleaning sprays on the device
Inserting sharp objects like pins or toothpicks into the sound port
Applying hairspray, perfume, or lotion while wearing the device
Dropping the device on hard surfaces without a soft cover underneath
Sleeping with your hearing aid in
Storing it in a hot car or direct sunlight
Ignoring early signs like weak sound or intermittent cutting out
Signs Your Hearing Aid Needs Professional Attention
Even with excellent home care, professional servicing is important. Visit a hearing care specialist if you notice:
Persistent whistling or feedback after cleaning
Distorted, crackling, or weak sound
The device cuts in and out
Physical damage or a broken casing
Skin irritation, soreness, or excessive wax in the ear
A change in your hearing, which may mean you need reprogramming
Professional cleaning and checkups every three to six months are recommended. At VR Speech and Hearing Clinic, our audiologists use specialized tools to clean internal components, test the device performance, and fine-tune settings to match your current hearing needs.
Caring for Your Ears Too
Hearing aid hygiene is not just about the device. Clean ears mean a cleaner device. Wipe the outer ear with a soft cloth and avoid using cotton swabs inside the ear canal, as they push wax deeper. If you produce a lot of wax, ask your audiologist about safe removal. Also have your hearing tested annually, because your needs can change over time.
Travel and Storage Tips
Always carry a spare set of batteries, wax guards, and a cleaning brush
Use a protective case when traveling
Remove the device during X-rays, MRI scans, and airport body scanners if advised by staff
If you won’t use the hearing aid for a few days, remove the batteries and store it in a dry place
Final Thoughts
Knowing how to clean and maintain your hearing aid is one of the easiest ways to protect your investment and enjoy clear hearing every day. A few minutes of daily care, a deeper clean each week, and regular professional checkups can add years to your device life and keep your sound quality at its best.
If you are unsure about any step or your device is not performing well, do not struggle on your own. The team at VR Speech and Hearing Clinic is here to help with cleaning, repairs, programming, and personalized guidance so you can hear confidently.
Frequently Asked Questions (FAQs)
1. How often should I clean my hearing aid?
Wipe it daily, do a deeper clean weekly, and schedule a professional checkup every three to six months.
2. Can I use water or alcohol wipes to clean my hearing aid?
No. Water and alcohol can damage internal electronics. Use a dry cloth and the brush supplied in your cleaning kit. Only earmolds detached from BTE devices can be washed with mild soap and water.
3. Why is my hearing aid whistling after cleaning?
Whistling may be caused by a poorly seated earmold, trapped wax in the ear, or a damaged component. If it continues, visit your audiologist.
4. How long do hearing aid batteries last?
Disposable batteries typically last three to twenty days depending on size and usage. Rechargeable batteries usually last a full day per charge and need replacing every few years.
5. What should I do if my hearing aid gets wet?
Turn it off, remove the battery, wipe it gently, and place it in a dehumidifier or drying box for at least eight hours. If it still does not work, see a professional.
6. How often should I change the wax guard?
Most people need to change the wax guard every one to four weeks, depending on how much earwax they produce.
7. How long does a hearing aid last with proper care?
With good maintenance, most hearing aids last five to seven years or longer.
8. Is it safe to sleep with my hearing aid in?
No. Remove it at night to let your ears rest, dry out the device, and recharge or air out the battery.