How to Prepare for a Diagnostic Hearing Assessment
Booking a diagnostic hearing assessment is a big step toward better hearing, but many people wonder whether they need to do anything beforehand. The good news is that there is no fasting, no special diet, and no complicated routine. However, a few simple preparations can make your results more accurate and your appointment far more useful. This guide explains how to prepare for a diagnostic hearing assessment, what to bring, what to avoid, and what to expect on the day.
What Is a Diagnostic Hearing Assessment?
A diagnostic hearing assessment is a thorough evaluation carried out by an audiologist to find out whether you have hearing loss, how severe it is, which part of the ear is affected, and what might be causing it. It goes well beyond a basic hearing screening, which only tells you whether you pass or fail.
A diagnostic test measures the softest sounds you can hear at different pitches, how clearly you understand speech, and how well your middle ear and eardrum are working. The results are plotted on a chart called an audiogram, which guides decisions such as hearing aids, medical referral, or regular monitoring.
Is Special Preparation Really Required?
Strictly speaking, no. You can eat normally, take your usual medications, and go about your day. But preparation matters because hearing tests depend on your cooperation and on the condition of your ears at that moment. Temporary factors like recent loud noise, blocked ears, or a cold can distort results and give a misleading picture of your hearing. A little planning helps your audiologist get reliable results the first time.
9 Ways to Prepare for Your Hearing Test
1. Avoid Loud Noise for 24 Hours
Exposure to loud sounds such as concerts, power tools, or loud headphones can cause a temporary dip in hearing called a temporary threshold shift. If you are tested during this window, your results may look worse than your true hearing. Stay away from noisy environments for at least 12 to 24 hours before your appointment, and keep your headphone volume low.
2. Do Not Clean Your Ears Aggressively
Avoid cotton swabs, ear candles, and sharp objects, which can push wax deeper or irritate the ear canal. Earwax is natural, and your audiologist will look inside your ear with an otoscope. If wax is blocking the canal, it may need to be removed before testing. If you suspect heavy buildup, mention it when booking so extra time can be set aside.
3. Reschedule If You Are Unwell
A cold, sinus congestion, ear infection, or active allergies can affect your middle ear and change test results, especially tympanometry. Fluid behind the eardrum can make your hearing seem worse than usual. If you have ear pain, discharge, or a blocked feeling, call the clinic first. They may still see you, but they might advise a medical check beforehand.
4. Prepare Your Medical and Family History
Your audiologist will ask about past ear infections, ear surgeries, head injuries, dizziness, and whether hearing loss runs in your family. Jot down key dates and details beforehand. Information about long-term conditions such as diabetes, high blood pressure, or heart disease is also useful, because these can influence hearing health.
5. List Your Medications
Bring a list of all medicines and supplements you take. Some drugs, including certain antibiotics, chemotherapy agents, diuretics, and high-dose aspirin, can affect hearing or balance. Do not stop any prescribed medication before the test unless your doctor tells you to. The list simply helps your audiologist interpret your results accurately.
6. Write Down Your Symptoms and Listening Challenges
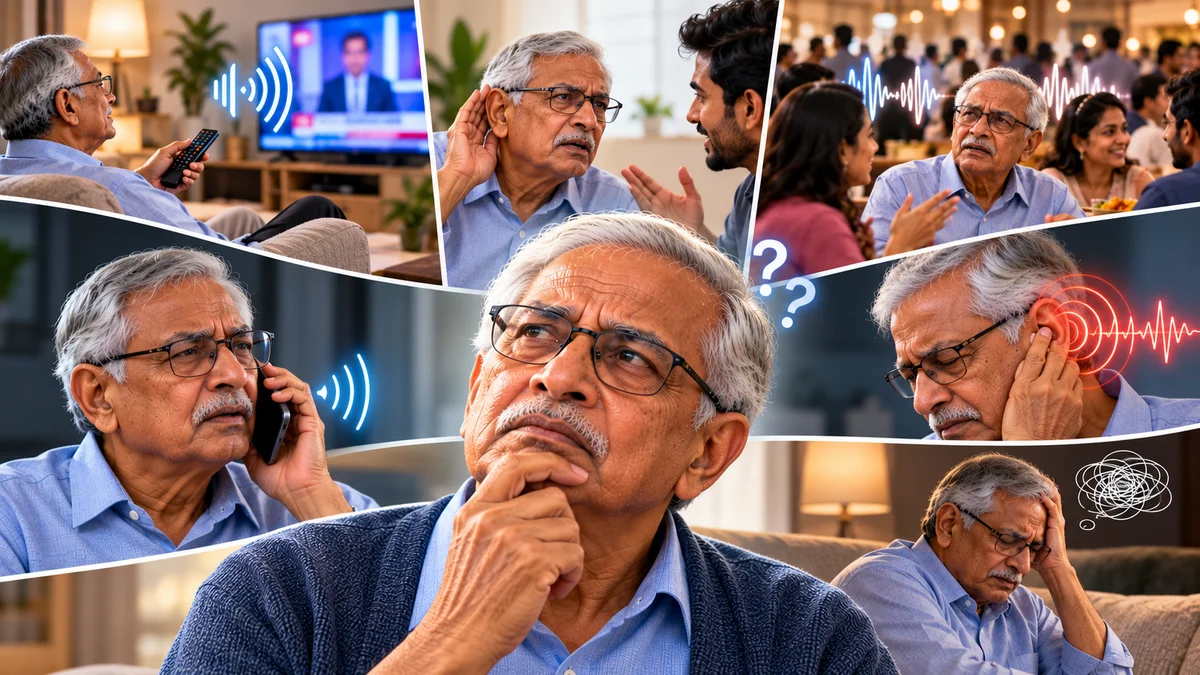
Note when you struggle to hear: in restaurants, on phone calls, while watching television, or in group conversations. Mention ringing in the ears (tinnitus), muffled sound, dizziness, or differences between your two ears. Specific examples help your audiologist tailor recommendations to your daily life, not just the numbers on a chart.
7. Bring a Family Member or Friend
A trusted companion can add details about your hearing that you might not notice yourself, such as how loudly you set the television. They can also help you remember advice and treatment options afterward. Let the clinic know in advance, as some have guidelines about extra people in the test room.
8. Bring Existing Hearing Aids and Past Records
If you already use hearing aids, wear them to the appointment and bring the charger or spare batteries. Carry earlier audiograms, ENT reports, or scans if you have them. Comparing past and present results shows whether your hearing has changed over time, which is valuable for an accurate diagnosis.
9. Dress Comfortably and Arrive Early
Remove large earrings, hats, and bulky headwear that could interfere with the headphones. Choose comfortable clothing, since you will sit still for a while. Arrive 10 to 15 minutes early to complete forms, and confirm the appointment length, which usually ranges from 45 to 60 minutes. Silence your phone before the test begins.
What Happens During the Assessment?
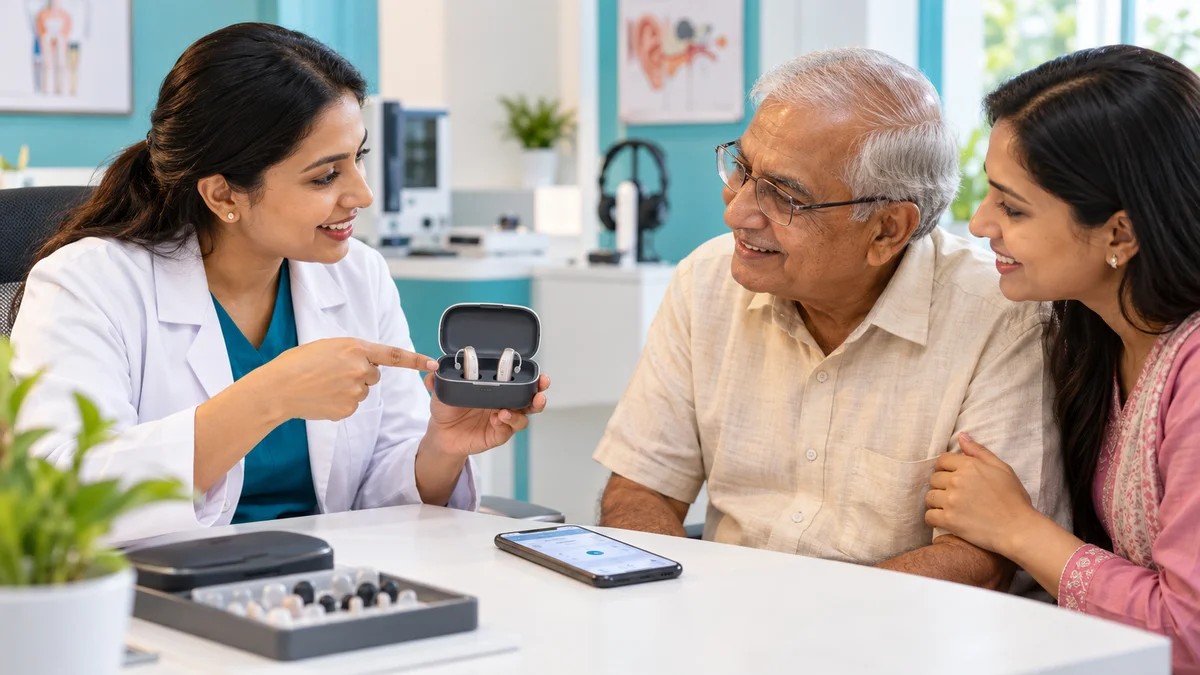
Most diagnostic hearing assessments are painless and non-invasive. Here is what you can generally expect:
Case history: A conversation about your symptoms, lifestyle, and medical background.
Otoscopy: A quick look into your ear canals and eardrums.
Tympanometry: A gentle pressure test that checks how well your eardrum and middle ear move.
Pure-tone audiometry: You wear headphones and press a button or raise your hand whenever you hear a beep, even a very faint one. Some tests use a small vibrating device placed behind the ear.
Speech audiometry: You repeat words at different volumes to show how clearly you understand speech.
Additional tests: Depending on your results, your audiologist may add otoacoustic emissions or acoustic reflex testing.
During the listening tests, concentrate and respond to the faintest sounds you can detect. It is normal to feel unsure about very quiet beeps. Just respond whenever you think you hear something.
What Happens After the Test?
Your audiologist will usually explain your audiogram on the same day, describing the type and degree of hearing loss, if any. Depending on the findings, the next step may be hearing aids, a referral to an ENT specialist, medical treatment for a blockage or infection, or simply a follow-up test in a year or two. Do not hesitate to ask questions about your results, your options, and expected costs.
Final Thoughts
Preparing for a diagnostic hearing assessment is simple and stress-free. Avoid loud noise, leave your ears alone, reschedule if you are unwell, and bring your medical details, medication list, and any previous hearing records. A few minutes of preparation can mean more accurate results, a clearer diagnosis, and a treatment plan that fits your life. If you have noticed changes in your hearing, do not wait. Early assessment leads to better outcomes.
Frequently Asked Questions (FAQs)
1. Do I need to fast before a hearing test? No. You can eat and drink normally. A diagnostic hearing assessment does not require fasting or any dietary changes.
2. Can I take my regular medications before the test? Yes. Continue your prescribed medicines unless your doctor advises otherwise, and bring a list so your audiologist can review it.
3. How long does a diagnostic hearing assessment take? Most appointments last between 45 and 60 minutes, depending on the number of tests needed and how much discussion is required.
4. Is a hearing assessment painful? No. The tests are non-invasive and comfortable. You may feel slight pressure during tympanometry, but it should not hurt.
5. Should I clean my ears before the appointment? No. Avoid cotton swabs and other tools. Your audiologist will check for wax and advise on safe removal if it is blocking your ear canal.
6. Can I have a hearing test if I have a cold? It is best to reschedule. Congestion and fluid in the middle ear can affect results and may not reflect your normal hearing.